
If you fit a shower screen on a bath, you can greatly prevent the water from splashing onto the floor. Moreover, it also upgrades and enhances your bathroom’s overall look and style. With the right tools and a careful approach, the installation can be done efficiently.
This guide provides step-by-step instructions to help you complete the task with ease. A well-installed glass shower screens enhances the aesthetics of your bathroom and improves functionality by keeping the space dry and clean. Therefore, this simple article will take you through the process from the beginning to the end.
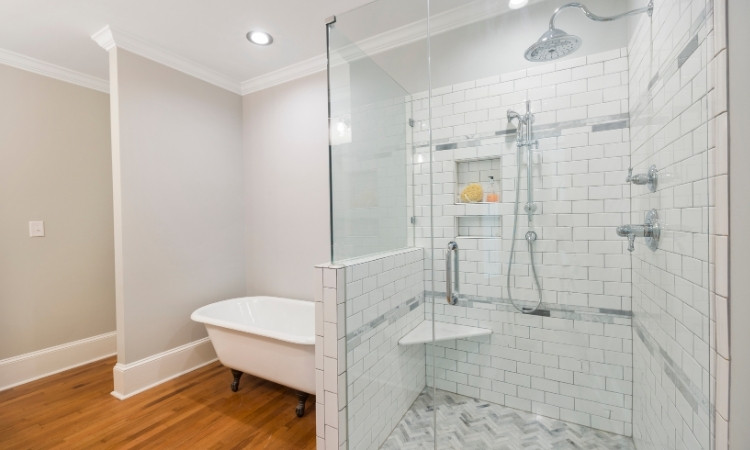
How to Fit a Shower Screen on a Bath in Singapore?
In Singapore, it does not have to be daunting to fit a bath shower screen. This task requires some basic tools and materials for efficient completion. Therefore, LS Shower Screen Singapore explains the complete installation instructions and the list of required tools in this section.
Tools and Materials Needed
Before you fit a shower screen on a bath, gather the necessary tools and materials. Here is a tentative list of what you will need for this task.
- Shower screen kit
- Drill and appropriate drill bits
- Measuring tape
- Spirit level
- Screwdriver
- Pencil
- Silicone sealant
- Masking tape
- Safety goggles and gloves
- Wall plugs
- Damp cloth

Step 1: Measure and Mark the Position
Use a measuring tape to determine the exact place of the shower screen on the bath edge. Mark the positions for the wall channel with a pencil. Ensure that the screen is properly aligne
d and has enough space to move freely. Verify the measurements to avoid any errors before drilling.
Step 2: Install the Wall Channel
If your shower screen comes with a wall channel, hold it against the marked position on the wall. Use a spirit level to ensure it is balanced. Mark the drill holes, then drill into the wall using an appropriate drill bit.
Insert wall plugs if you think it is required. Afterward, secure the channel with screws. This step is crucial as a misaligned wall channel can affect the stability and functionality of the screen, especially with a frameless shower screen.
Step 3: Fit a Shower Screen on a Bath
Carefully place the shower screen into the wall channel or attach it to the hinges, depending on the design. Ensure that it fits and aligns properly with the bath edge. Tighten all screws to hold the screen in place. Take your time to ensure the screen is positioned correctly. This is important because an improper alignment will cause issues during use. A sturdy and elegant choice for this setup can be the black frame shower screen.
Step 4: Apply Silicone Sealant
To prevent water leaks, apply a thin bead of silicone sealant along the edges where the shower screen meets the bath and wall. Smooth the sealant using a damp finger and a finishing tool. Let it dry completely as per the manufacturer’s recommendations. Silicone sealant plays a key role in waterproofing, so make sure to apply it evenly and thoroughly, especially for more complex configurations like an l-shaped shower screen.
Step 5: Test the Shower Screen
When the sealant has dried, carefully open and close the shower screen to check for smooth movement. Run water from the shower and observe if any leaks occur. If necessary, apply additional sealant or adjust the screen. Testing is crucial to ensure that the installation is properly executed and that there are no hidden issues. This process is particularly important if you’re using a sliding door shower screens, which must glide smoothly and close securely.
Step 6: Final Checks and Cleaning
Inspect the entire installation to ensure the screen is perfectly installed and there are no gaps. Clean off the excess sealant with a damp cloth. Check that all screws and fittings are properly tightened.
Allow at least 24 hours before using the shower to let the sealant cure properly. A well-secured tempered glass shower screen should function smoothly without any leaks or instability.
Conclusion
In Singapore, it is easy and effective to fit a shower screen on a bath. This is a great way to enhance your bathroom’s functionality and appearance. By following these steps, you can achieve a secure and effective installation. Regular cleaning and maintenance will help keep the screen in excellent condition for years. For professional support, consider checking available services that offer installation help for an HDB shower screen and other setups.
