A bath screen helps you prevent the water splashing onto the bathroom floor to keep you from slipping and also protecting the floor from water damage. It also keeps the bathroom clean and helps you avoid the hassle of keeping the bathroom clean as the wet floor could lead to injuries. So, how to install a bath screen in Singapore?
To learn an expert way of installing a bath screen in Singapore, read this post till the end. Also, LS Shower Screen Singapore is an expert in frameless shower screens, HDB shower screens, and glass shower screen services in Singapore.
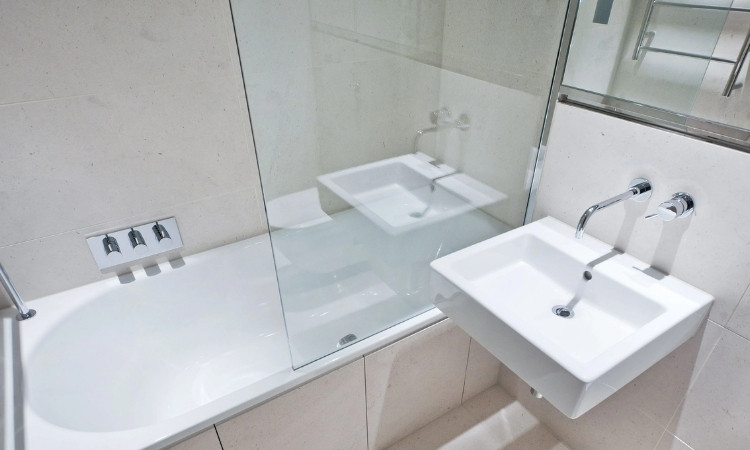
Benefits Of Installing A Bath Screen In Singapore
There are advantages of installing a bath screen in Singapore such as:
- Splash-free floors make every shower safer.
- Dry tiles mean fewer slips and accidents.
- Protected walls and floors last much longer.
- Sleek glass adds a modern bathroom touch.
- Easy cleaning keeps everything fresh and bright.
- Simple design makes showers more enjoyable.
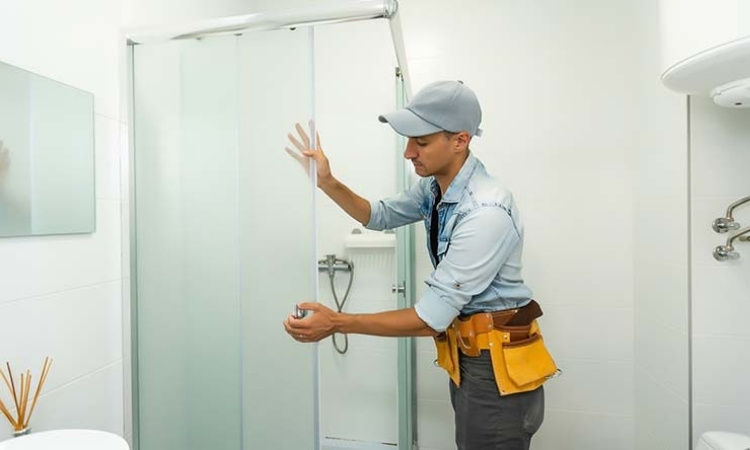
How to Install a Bath Screen in Singapore?
As you now know the benefits of installing a bathroom screen in Singapore. It’s now time to learn how to install one from the experts. Follow this guide to install the bathroom screen on your own without any professional needed.
Measure Your Space
Strange how one small mistake in measuring can ruin the whole setup, right? Grab your tape measure and check the length and height of the tub edge like your life depends on it.
Do it once, then do it again, because the numbers have to match or you will regret it later. A screen that actually fits feels satisfying the moment you place it down.
Choose The Right Screen
Some screens fold, some slide, and some just stand there like they own the place. Your bathroom size and your habits decide which one you should go for.
A small space loves a folding screen, while a wide bathroom looks proud with a fixed one. Pick carefully, because the wrong choice stares at you every single morning.
Gather Your Tools
Nothing kills motivation faster than pausing mid-job to hunt for a screwdriver. Lay out the drill, screws, wall plugs, spirit level, and sealant gun before you even think of starting.
Tools sitting there, waiting for you, make the process smoother and less stressful. It feels good when you know everything you need is already in your hands.
Mark The Drill Points
A pencil line can save you from disaster later. Hold the wall channel against the wall and mark exactly where the drill will go.
Check with the spirit level again, because a crooked start leads to a crooked finish. Once those neat marks are made, you know the screen will stand the way it’s meant to.
Drill The Holes
The sound of a drill against tile is never fun, but it has to be done slowly and carefully. Use the right drill bit so the tiles don’t crack under pressure.
Once the holes are there, slide in wall plugs to give the screws something strong to hold onto. Suddenly, the wall feels ready to carry the weight of glass.
Fix The Wall Channel
This part feels serious because the wall channel holds everything else together. Place it back over the drilled holes and screw it in while keeping the spirit level close by.
If it tilts even slightly, you’ll see it every day and regret not fixing it now. A straight, solid channel is the backbone of your bath screen.
Attach The Bath Screen
Lifting the screen feels like the final test of your patience. Slide it carefully into the wall channel and tighten the screws or clips that lock it in place.
Swing it open and closed a few times, listening for smooth movement. The moment it doesn’t wobble, you know you got it right.
Seal The Edges
A thin line of silicone changes everything, because without it the water sneaks out. Run the sealant slowly along the edges where the screen meets the bathtub.
Wipe off the extra before it dries, so it doesn’t look messy. Once it sets, you’ve got a screen that holds water back like a guard at the door.
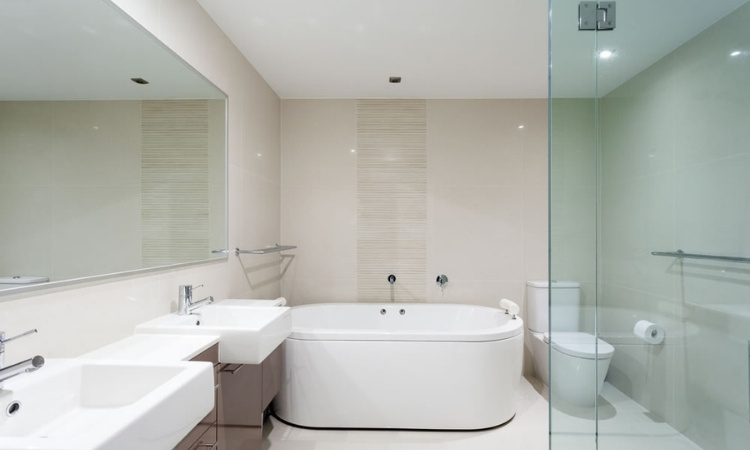
Final Words
A bath screen doesn’t only make your bathroom look luxurious but it also prevents your bathroom floor from water damage, you from injuries and also cleaning the bathroom frequently. However, how to install a bath screen in Singapore?
It’s easy. Just follow all these steps carefully without missing any: Measure the space carefully, then choose the screen that suits your bathroom best. Gather all the tools you need, then mark the drill points on the wall with care.
Drill the holes slowly to avoid cracks, then fix the wall channel straight and tight. Attach the bath screen securely into the channel, then seal the edges neatly with silicone to stop leaks.
